

Print marks are everything on a sheet or roll that isn't your customer's artwork: the registration dots a camera cutter reads, the barcode that loads the right cut file, a slug line with the order number, crop marks, a colour bar, and a small label next to each copy. You design them once as a mark set, and every job places them for its own layout and fills them with its own data.
Open Equipment, then the Marks tab.
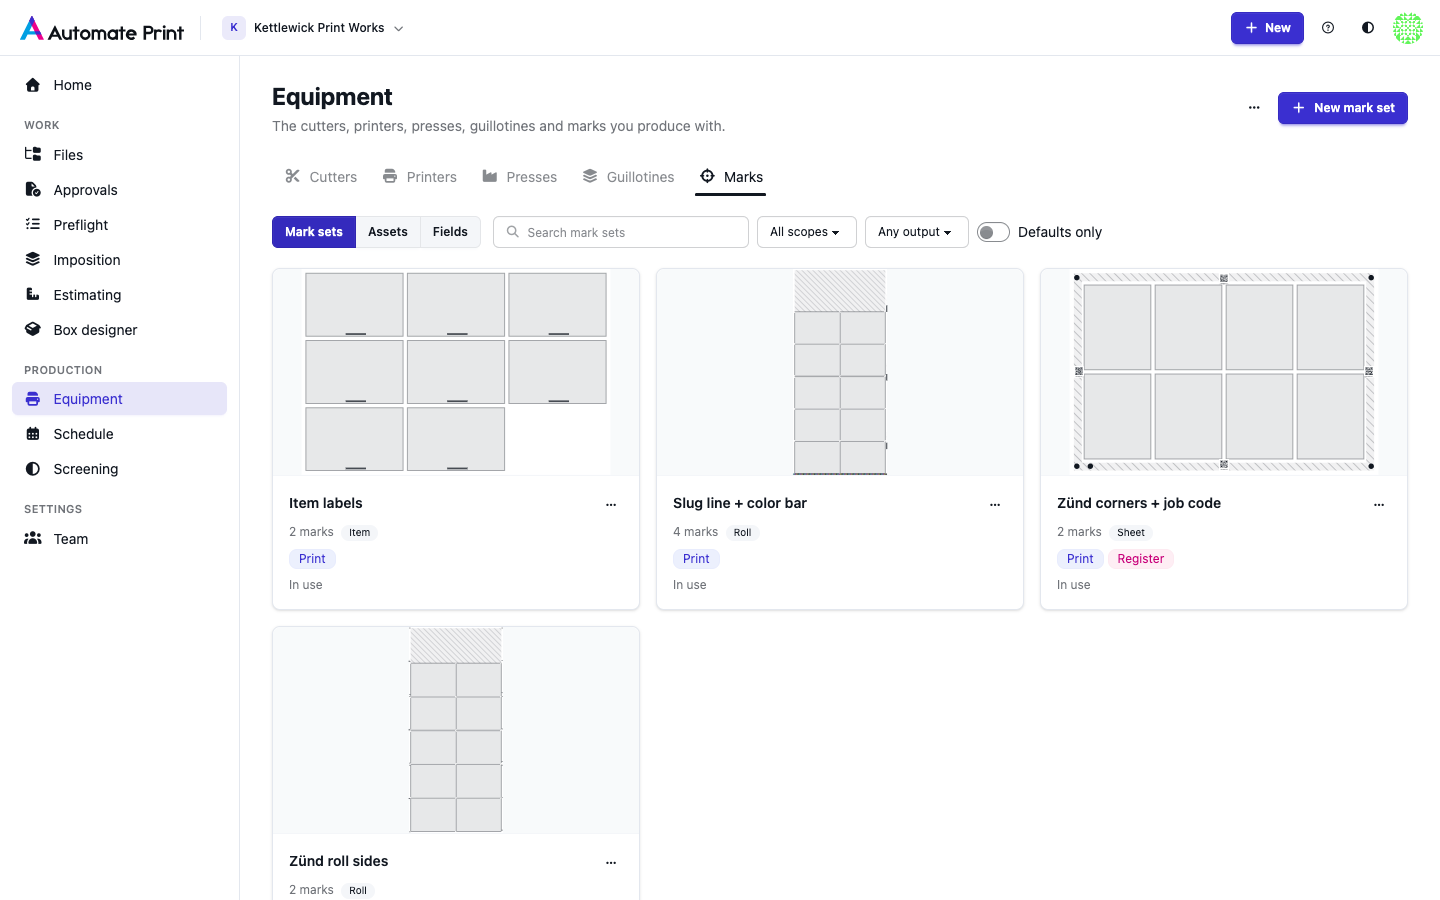
What a mark set does#
A mark set is a list of marks, each with a kind, a place and its content:
- Kinds: registration marks (dot, ring, square, cross, target, corner), text, barcodes (QR, Data Matrix, Code 39, Code 128 and more), images, shapes, crop marks, colour bars, fold marks, a roll ruler, collation bars and keep-outs (space kept free with nothing drawn).
- Place: a reference box (the media, the printable area, a margin, a bed window, or each copy's trim, bleed or die), one of its nine anchor points and an inset. Marks can repeat: at the corners, along an edge, once per bed, in a grid, next to each copy, or scattered through the empty space.
- Content: text and codes use
{{ … }}fields such as{{ job.external_id }}or{{ sheet.number }}, filled at export from the job, the layout and your order data. See Order data in marks.
You build sets in the designer, starting from a blank set or a preset. See Mark sets and the designer.
Where marks come from#
A job gets its mark sets from four places, in this order:
- Your team's default (★ in the library).
- The cutter's defaults: a Zünd or Kongsberg cutter can bring its registration marks and job code with it.
- The printer's defaults: for example a colour bar, or an edge the printer can't print on.
- The job itself: sets you add in the workspace's Marks tab.
In the Marks tab you can turn any of them off for one job, or make a job-only copy with Customize for this job. See Marks on a job.
What happens at export#
When you download the Imposed PDF, the marks are drawn into their own Marks PDF layer on top of the artwork. The layers already in the file (cut contours, bleed and trapping layers) stay as they are. The Cut file gets the registration marks on the cutter's registration layer, at exactly the printed positions, and is named from the sheet's code, so the file the operator loads is the one the barcode asks for. See Cutter registration and job codes.
Before a file is written, every mark is checked: inside the media, clear of the pieces, codes that decode, fonts embedded, and no missing data a mark needs. A problem that would ruin the run stops the export and lists what to fix; anything else is a warning you can accept.
Marks and the nest#
Marks that must never be covered (registration dots, required codes, keep-outs, labels next to each copy) reserve their space before the layout is made, so the nest works around them. Other marks, such as a slug line anchored to the artwork bounds, are placed in whatever space is left after nesting. Changing a mark that reserves space makes the layout Out of date until you run again; changing text or data never does. See Rolls, beds and lanes.
What isn't supported yet#
- A proof PDF with marks, and variable pages (one page per copy), are not available yet.
- Marks you add to one item only (on the artwork page) show on the item's preview, but don't print on layouts or reserve space in the nest yet.
- The public nesting API doesn't take mark sets.