


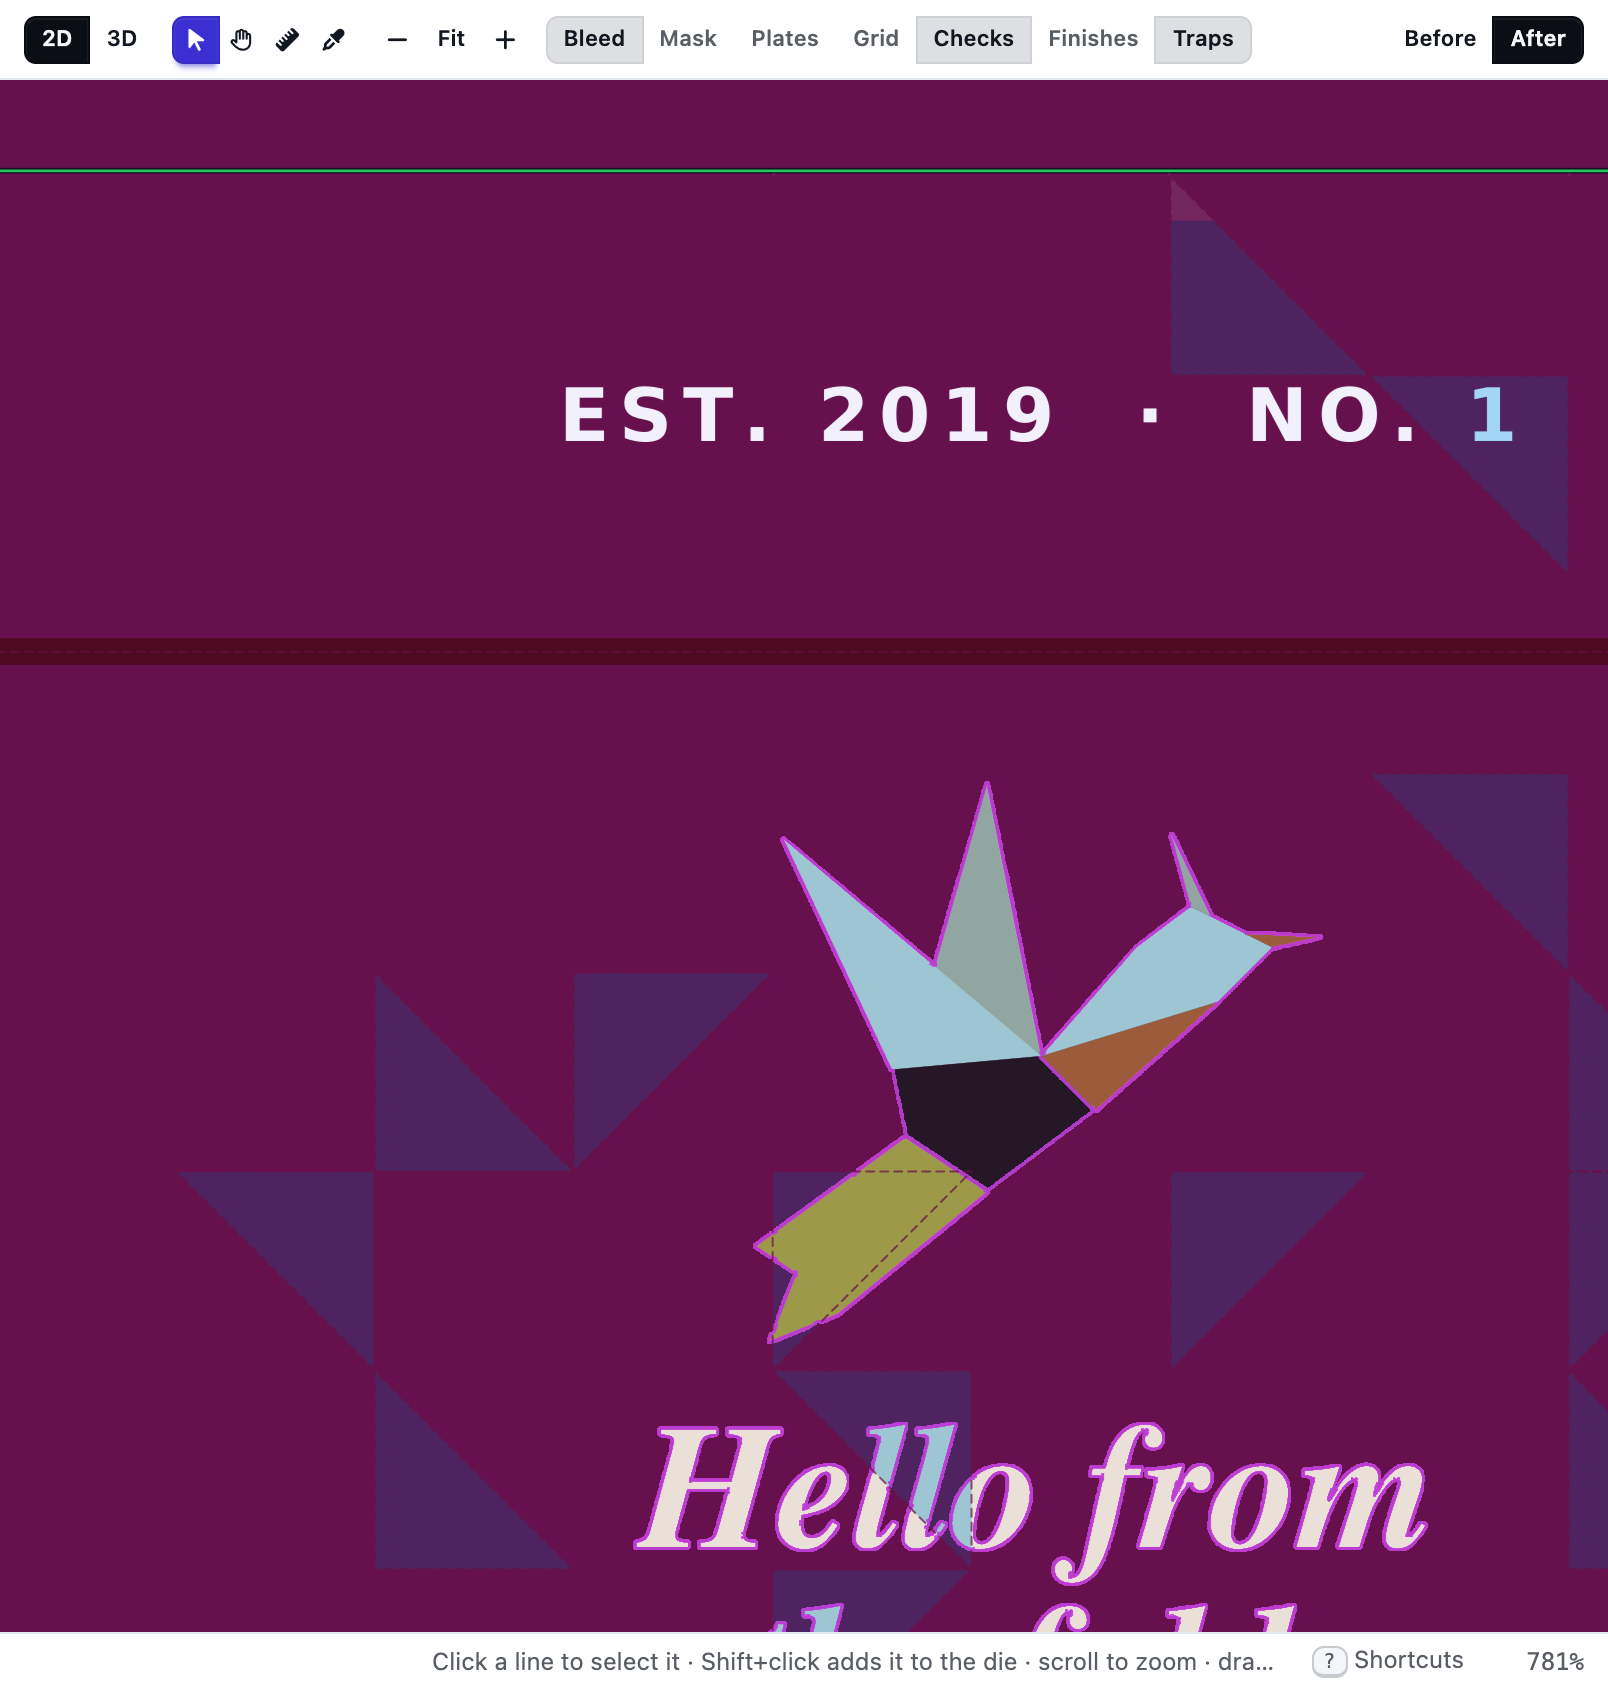
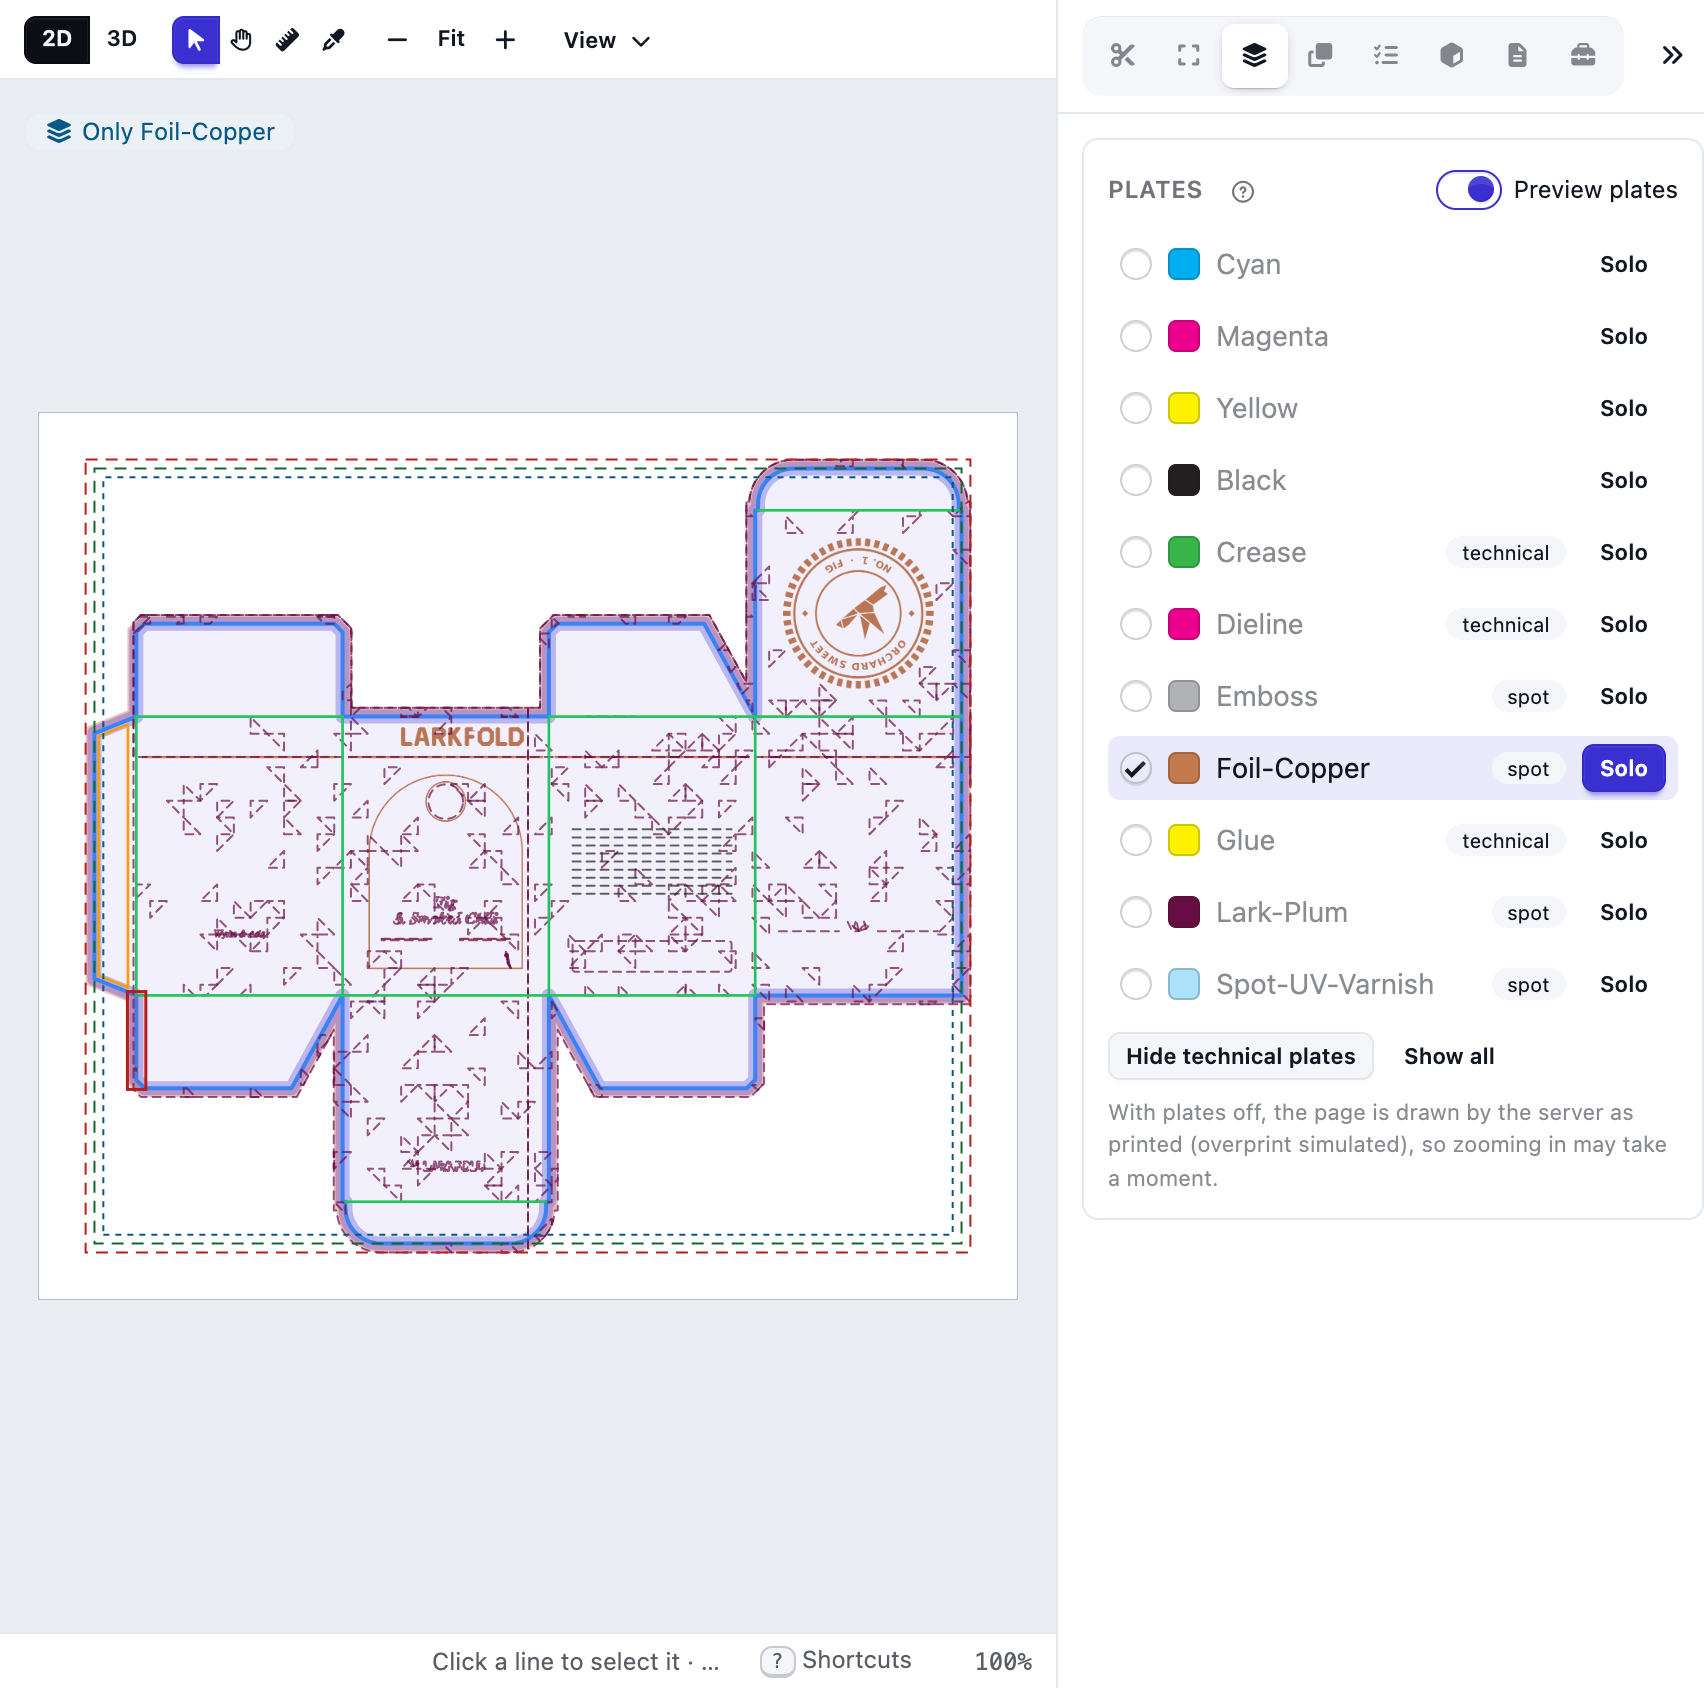
Separations as printed
The white knockout, the overprinting varnish and the foil exactly as the plates carry them.
Files & artwork
Map the spot colors that carry the die, build bleed that follows any shape, trap it for offset or flexo and check every plate as it will print. Save the result as a print-ready version — the customer's file is never touched.
On every plan

Today
With AutomatePrint
Today: Supplier dielines arrive on spots named anything.
With AutomatePrint: Auto maps CutContour, Thru-cut, Crease, Perf, Varnish and more from the ink names.
Today: Contour cut lines are drawn by hand around a customer's PNG.
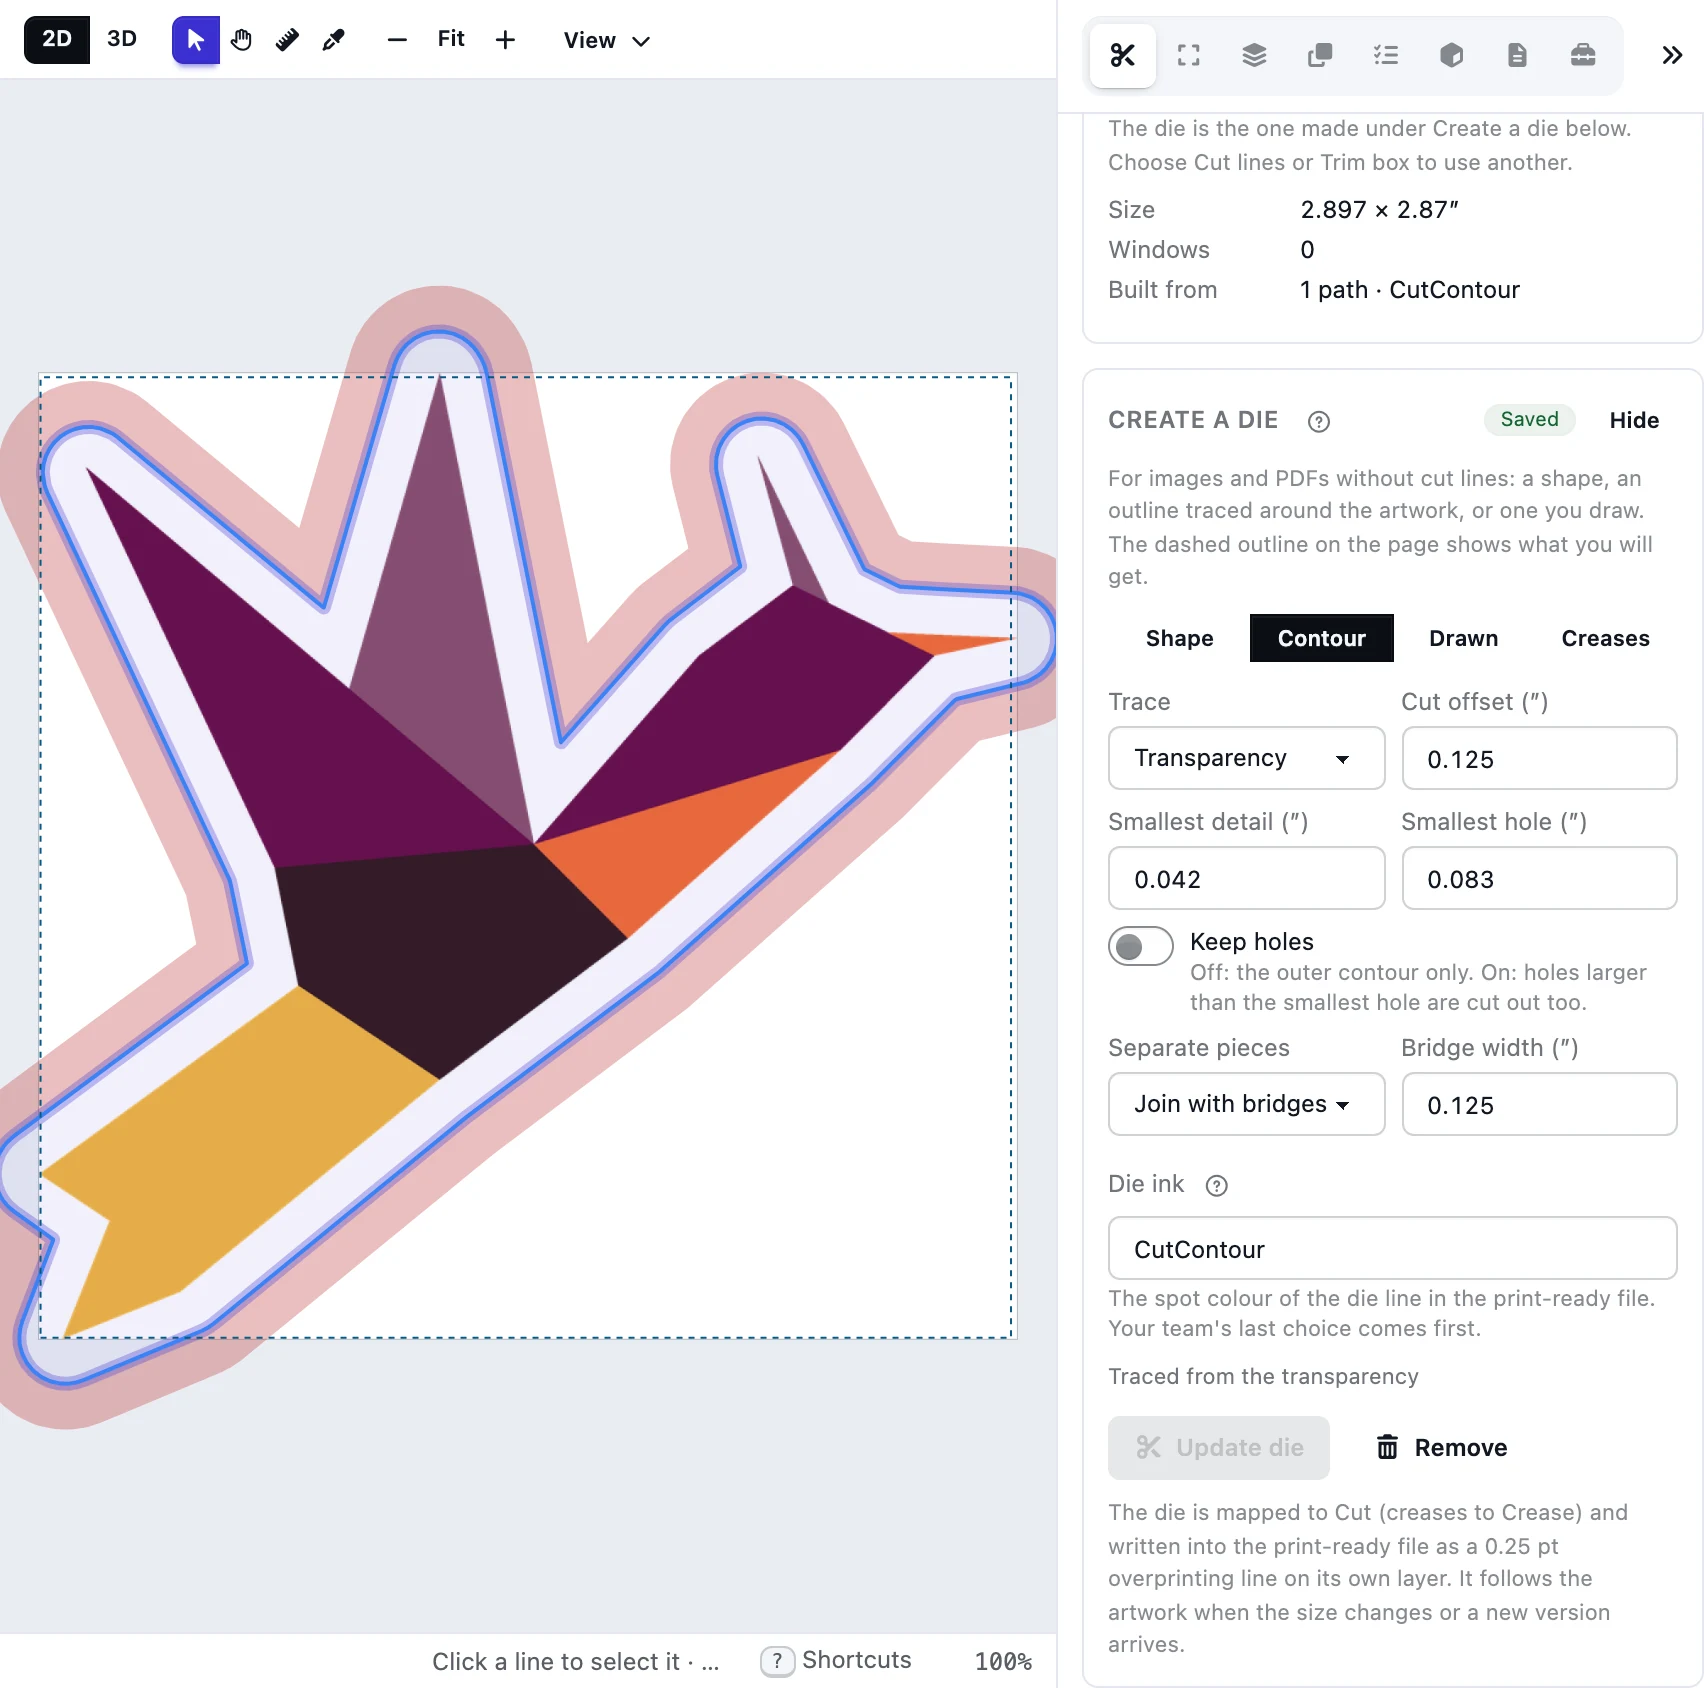
With AutomatePrint: Create a die traces the transparency, with the offset you choose.
Today: Traps come from a separate RIP or plug-in.
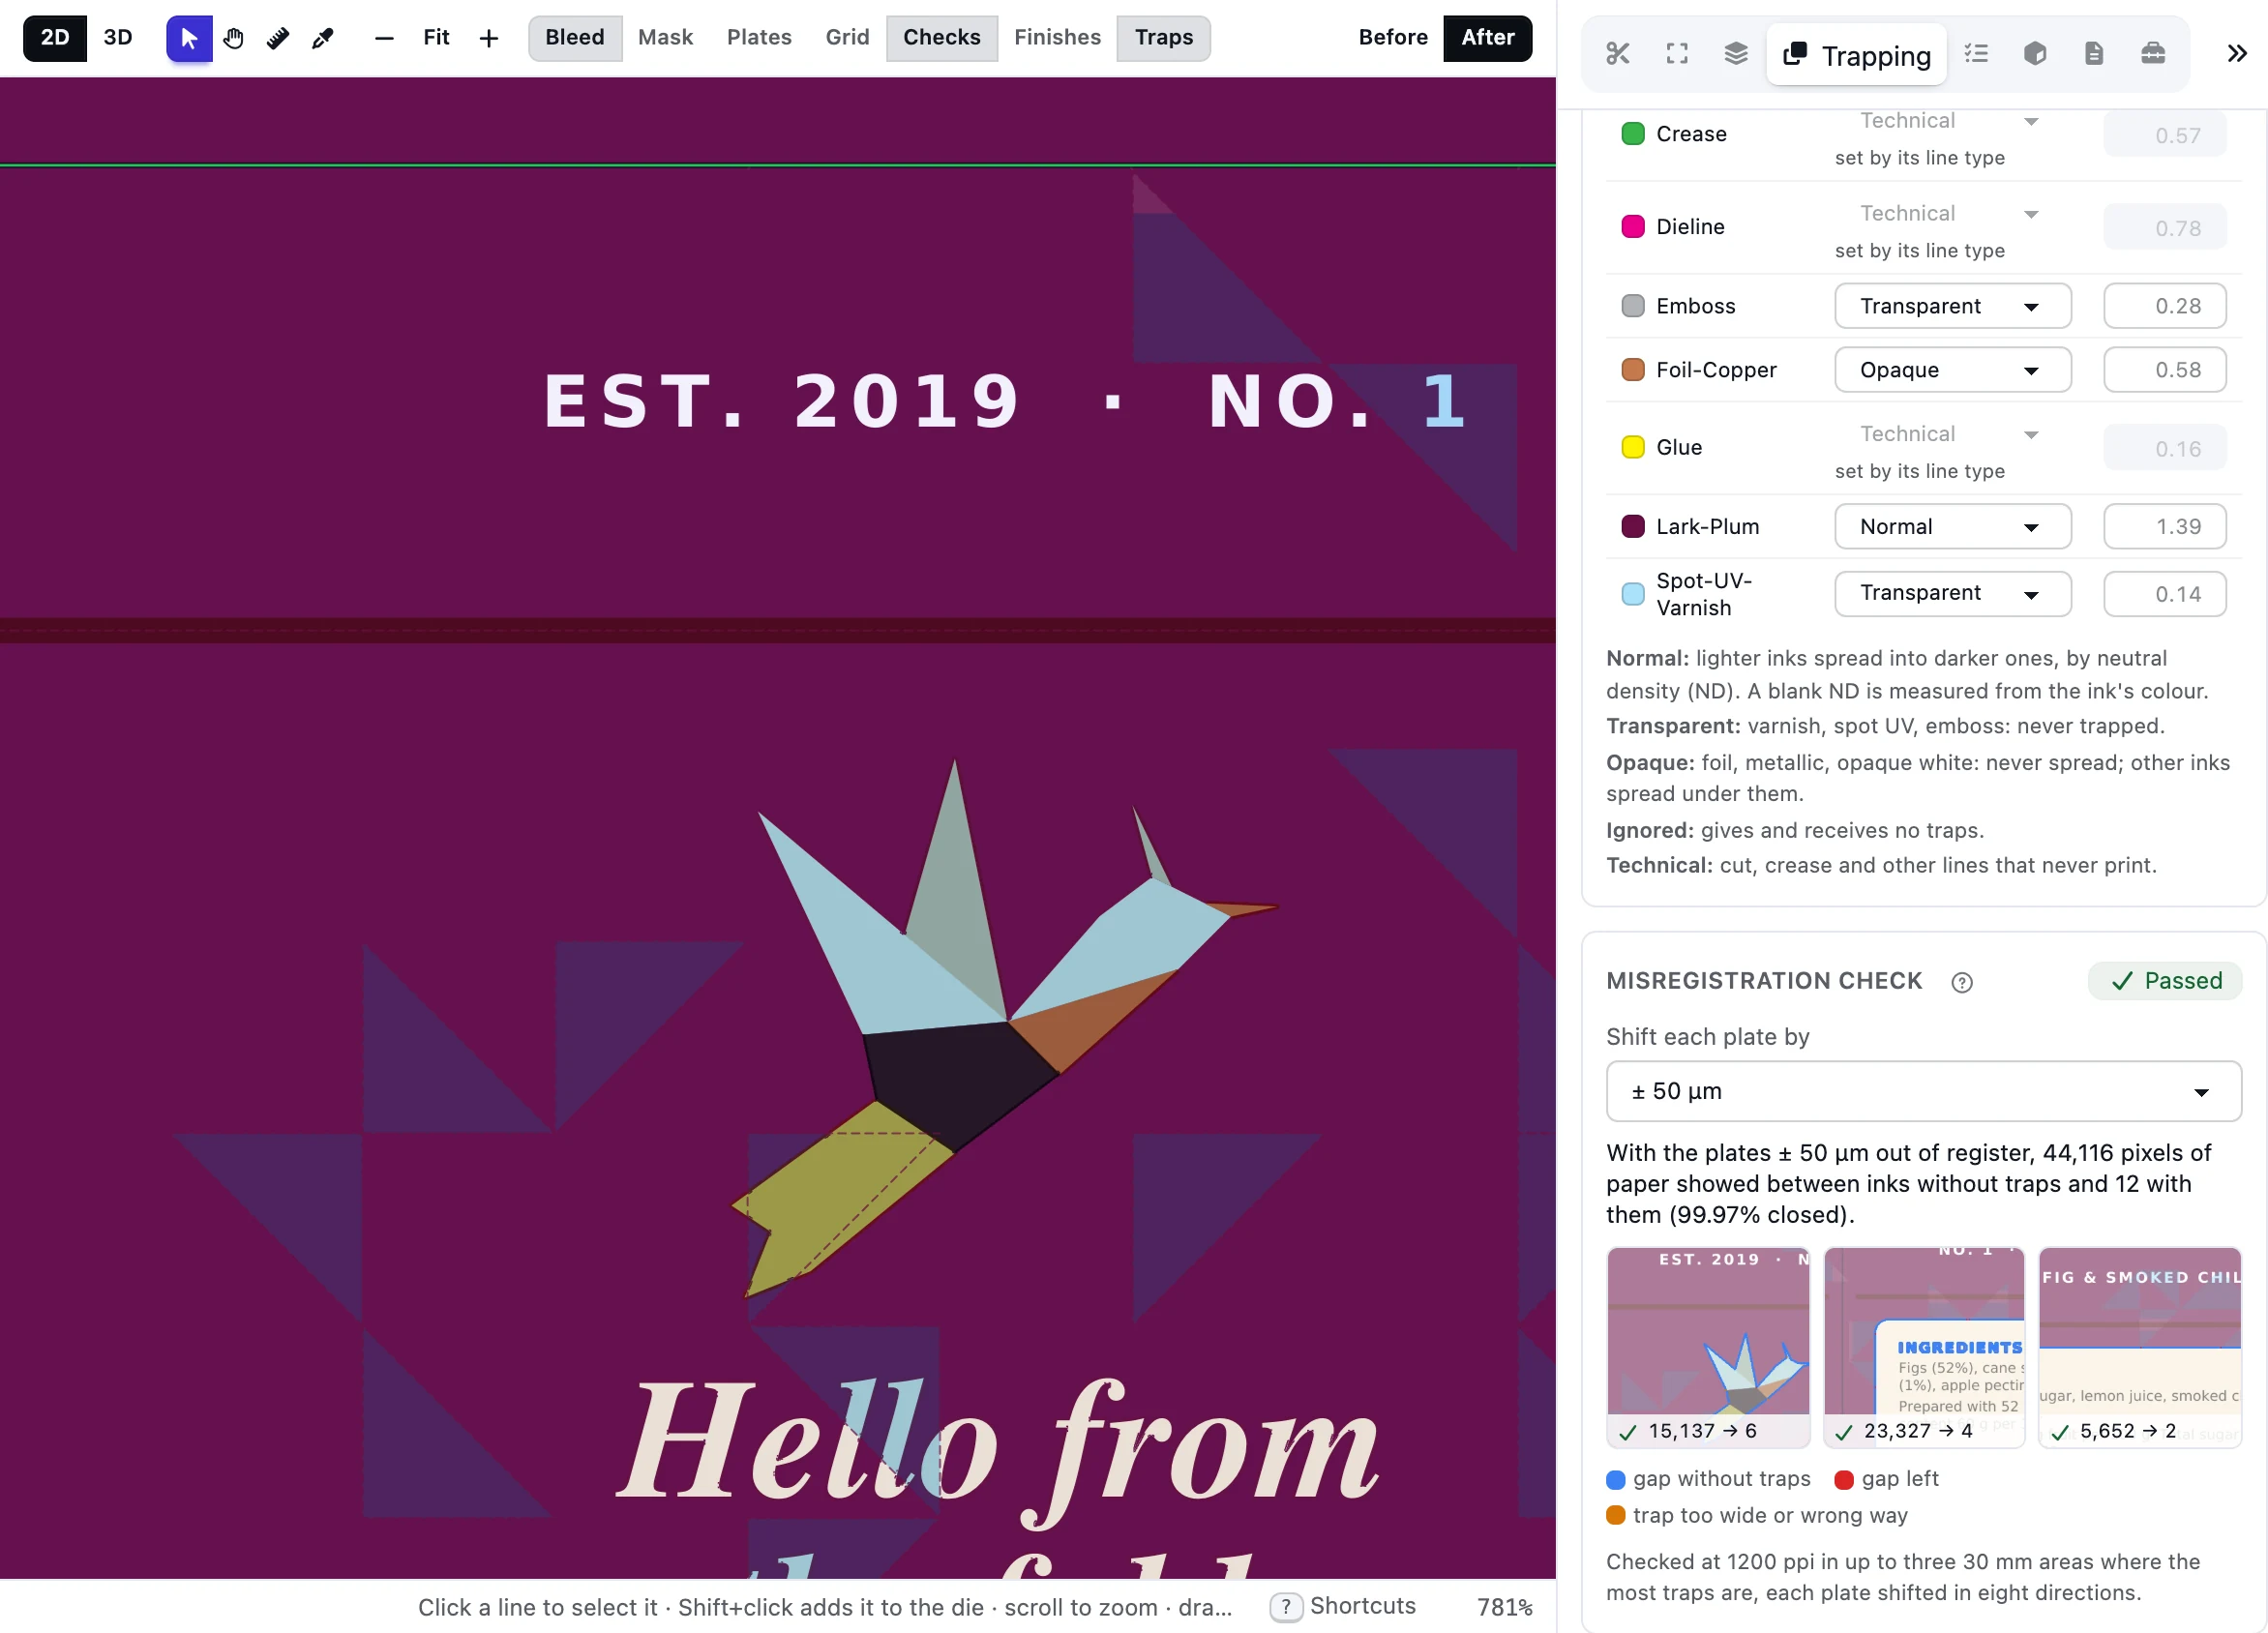
With AutomatePrint: Traps sit on their own layer, and a misregistration check shows they hold.
From Files or from an imposition job. JPEG, PNG and TIFF open as pages too.
Map the die from its inks, generate bleed around it and add traps; preview every plate as it prints.
A new version with bleed and traps on their own layers, and page boxes set from the die.
Supplier files carry the die on spot colors named anything from CutContour to Rillen. Auto reads the names and maps each one to cut, crease, perforation, glue, foil or varnish. Fix anything by hand, down to a single path.

Trace a die around a logo's transparency, draw one or start from a shape. Separate pieces can be joined with bridges or wrapped in one outline.
Trapping lives on its own layer: presets for offset and flexo, and off for digital. Then every plate is shifted in 8 directions, and the check shows where paper would show — before and after traps.
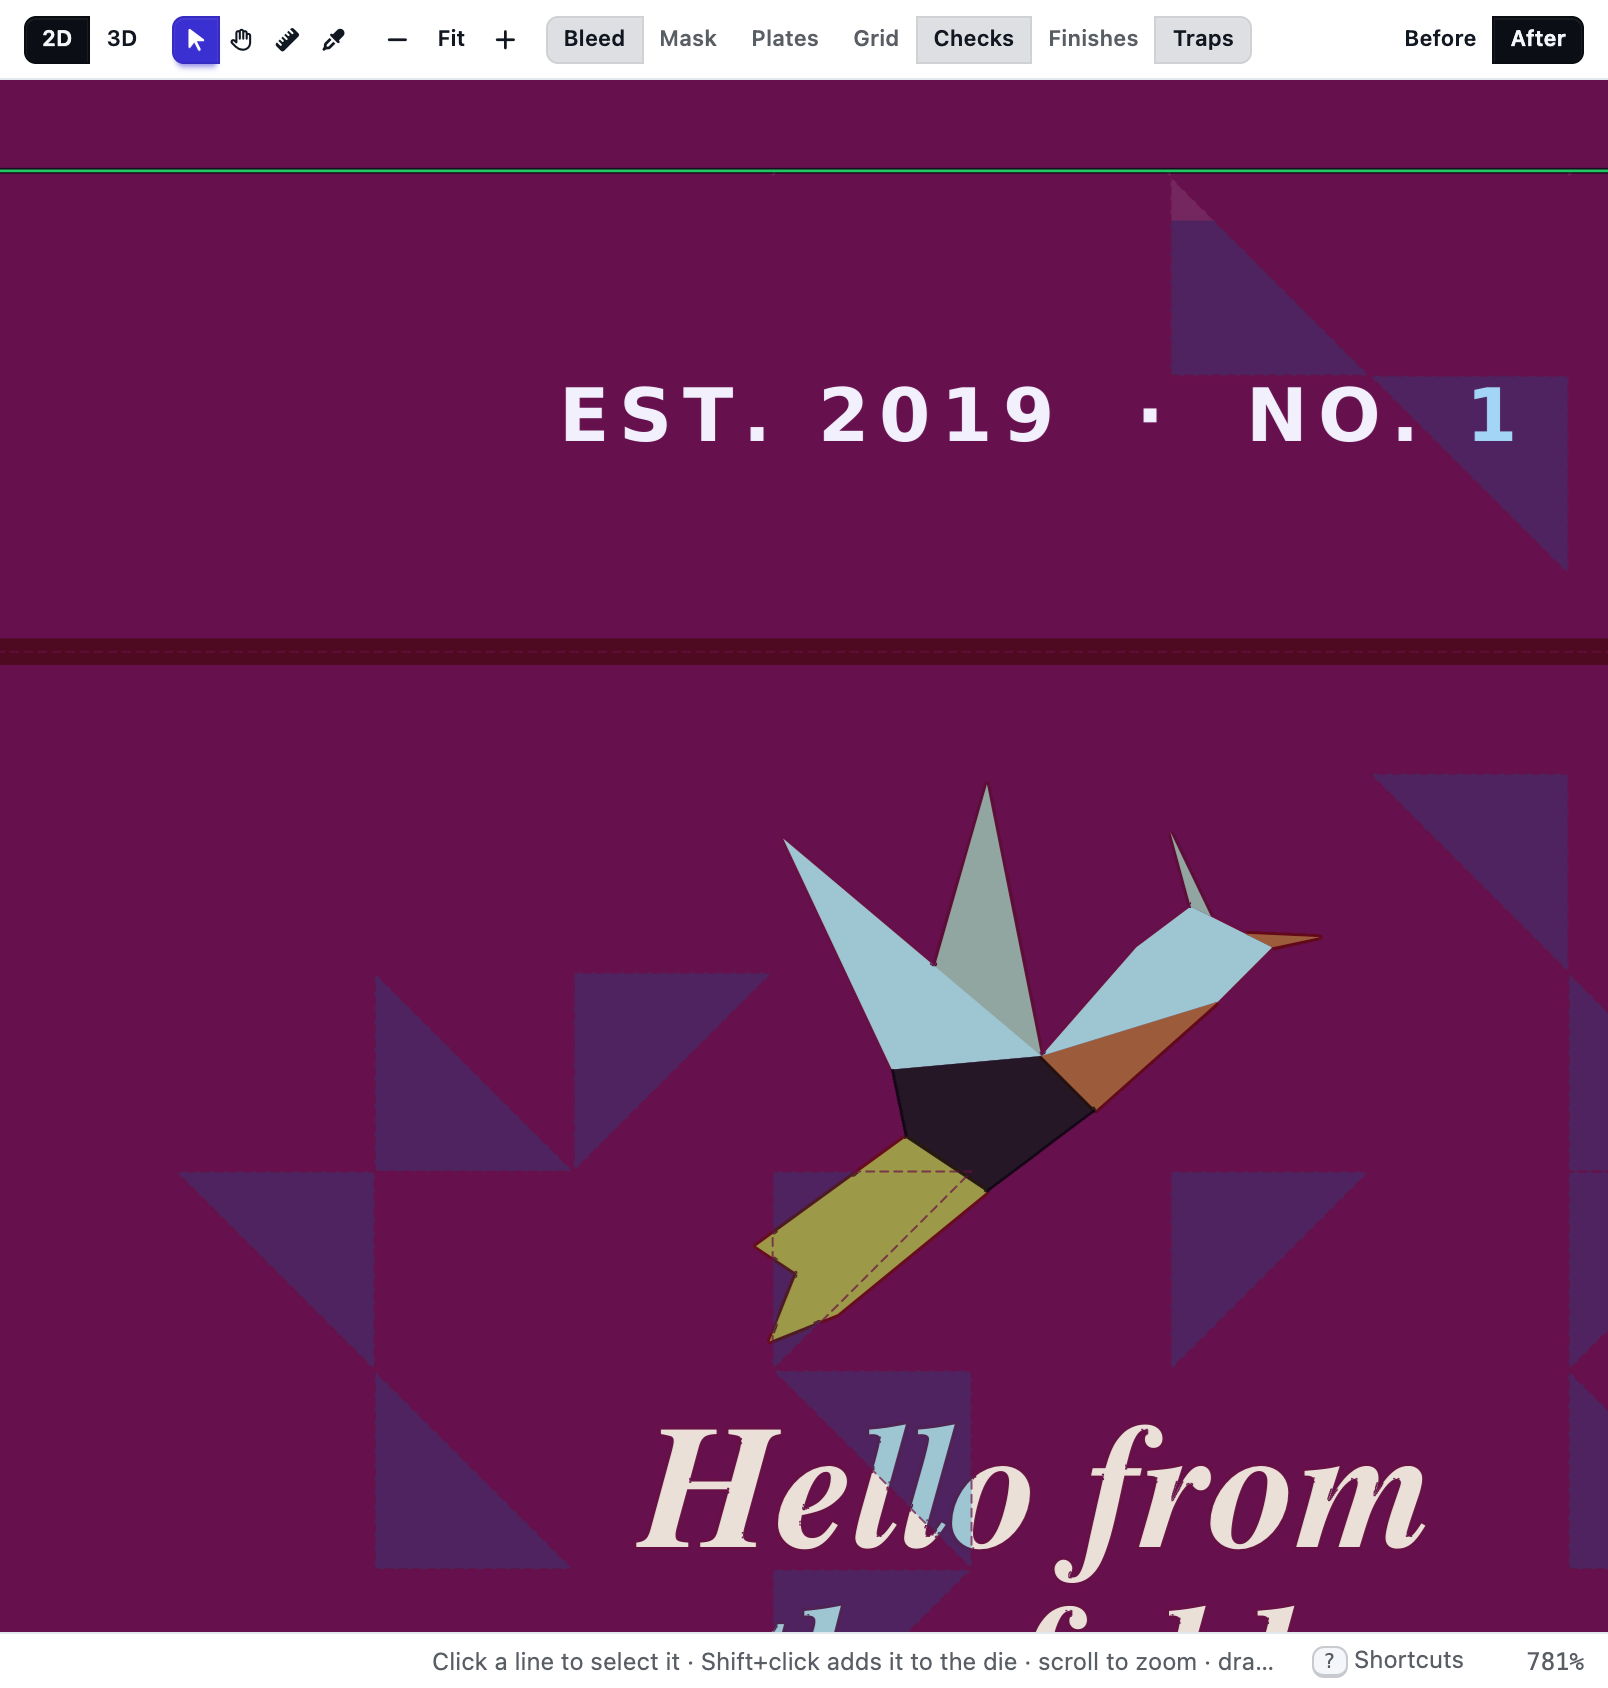
The white knockout, the overprinting varnish and the foil exactly as the plates carry them.
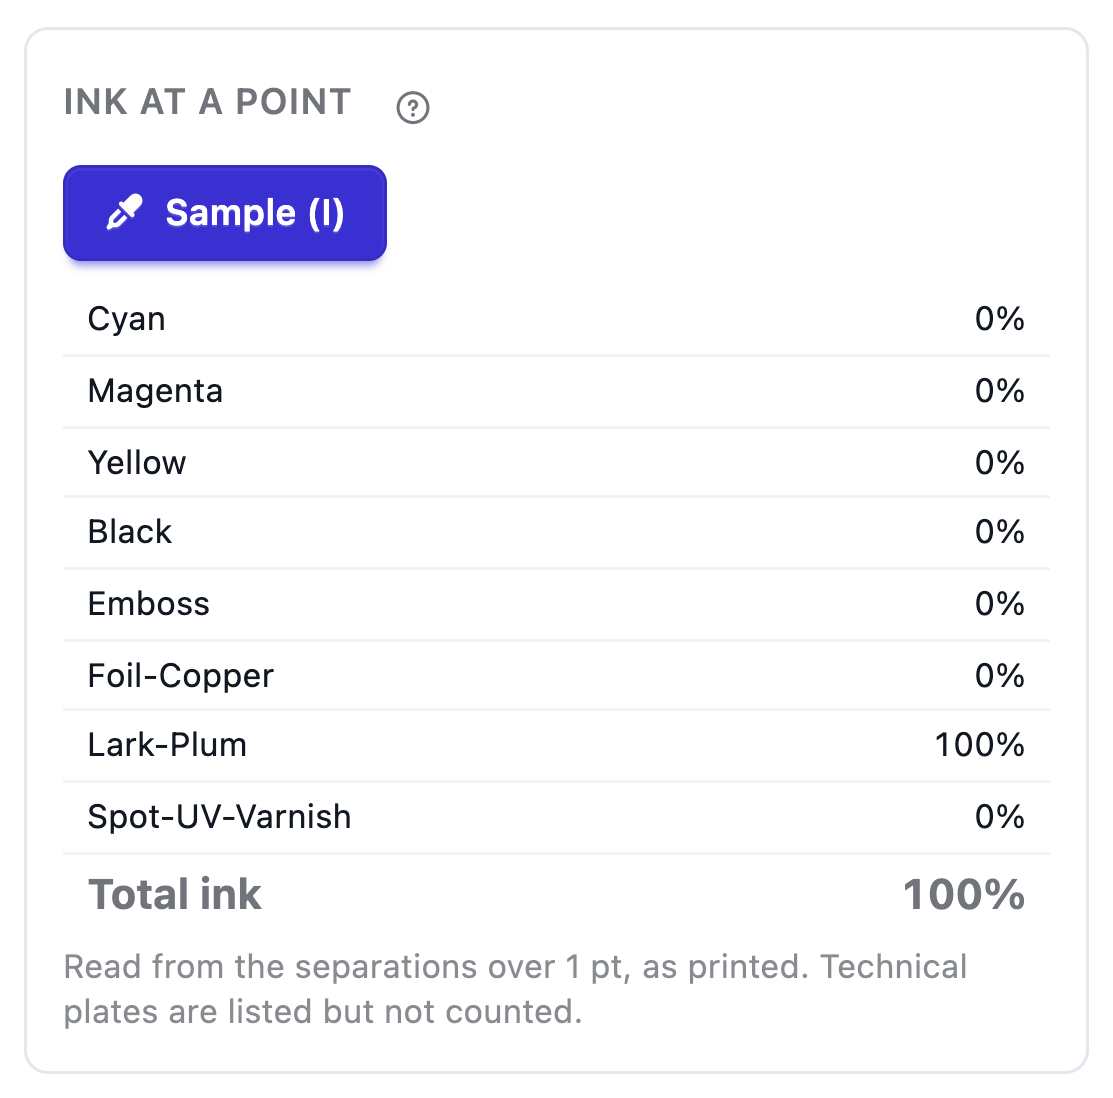
Every plate and the total, as printed.
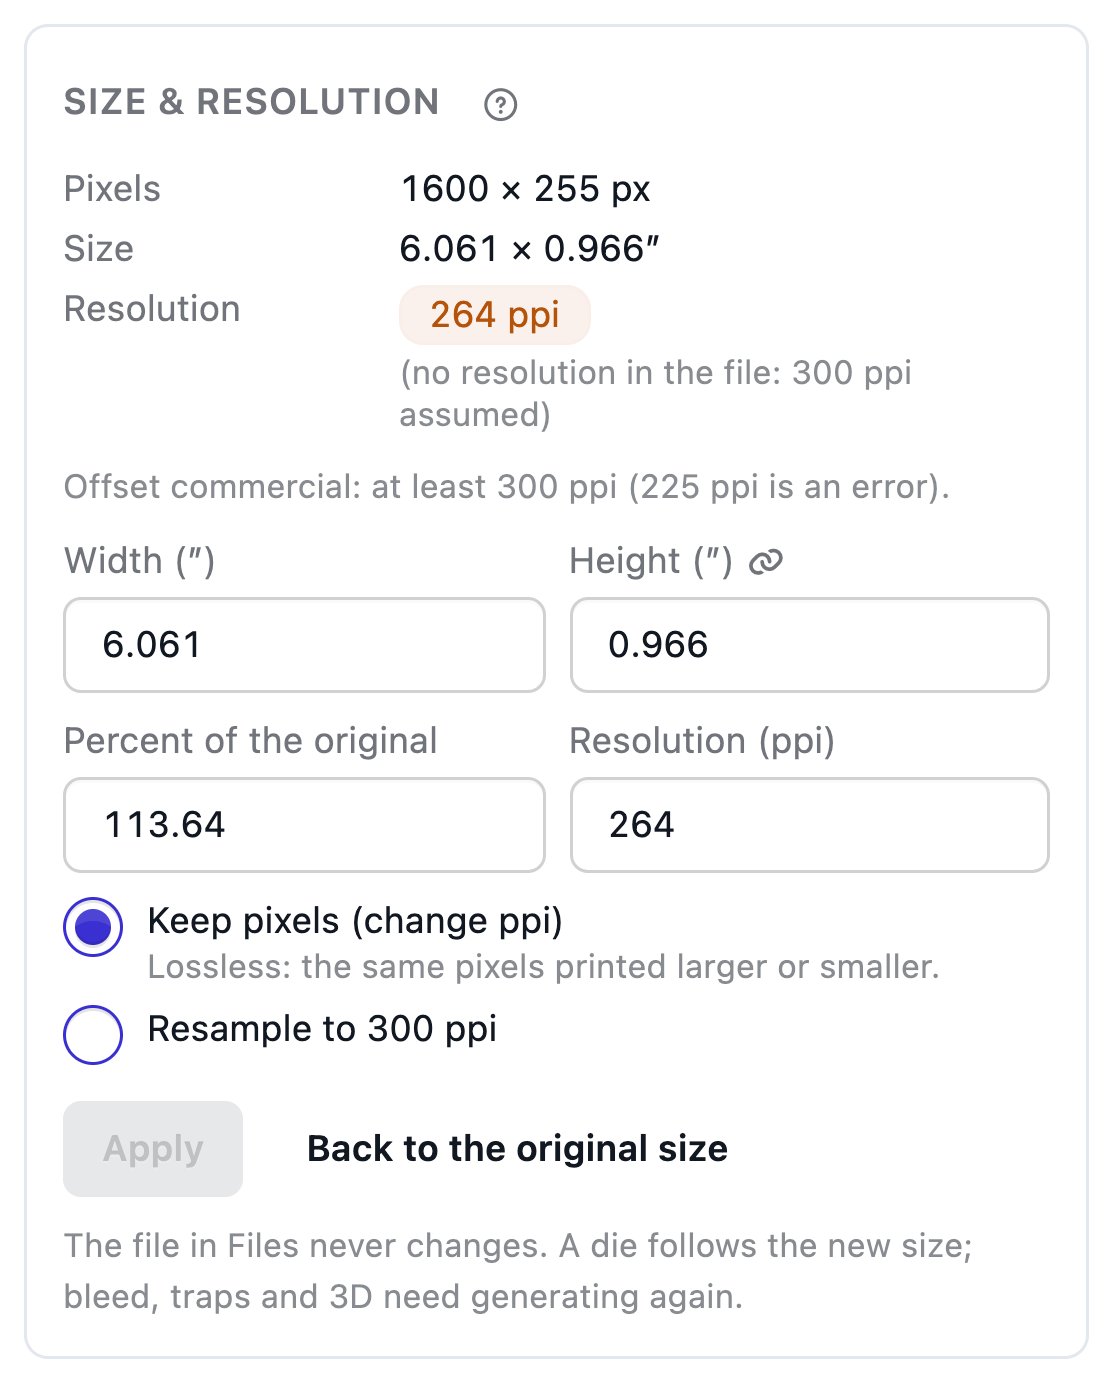
Resize an image and watch the effective resolution turn amber, then red.
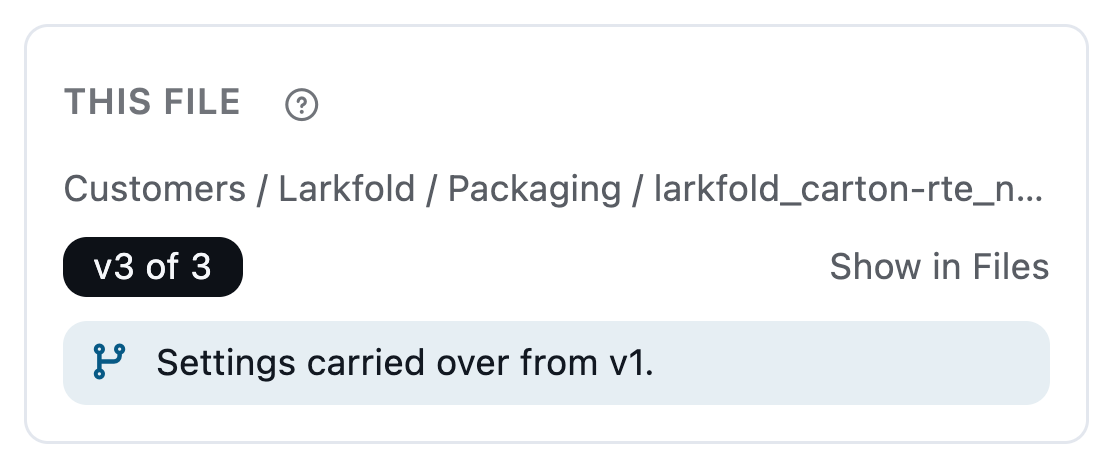
Version 2 arrives prepared, with the same die, bleed and traps.
On Plant, scan the open PDF, keep the copy you want and send it with the proof. The customer approves a block or a group. Food and beverage, personal care and pharma teams use the same tool. You can add copy the scan missed, or draw a box on the artwork and type it, and an empty category stays hidden.
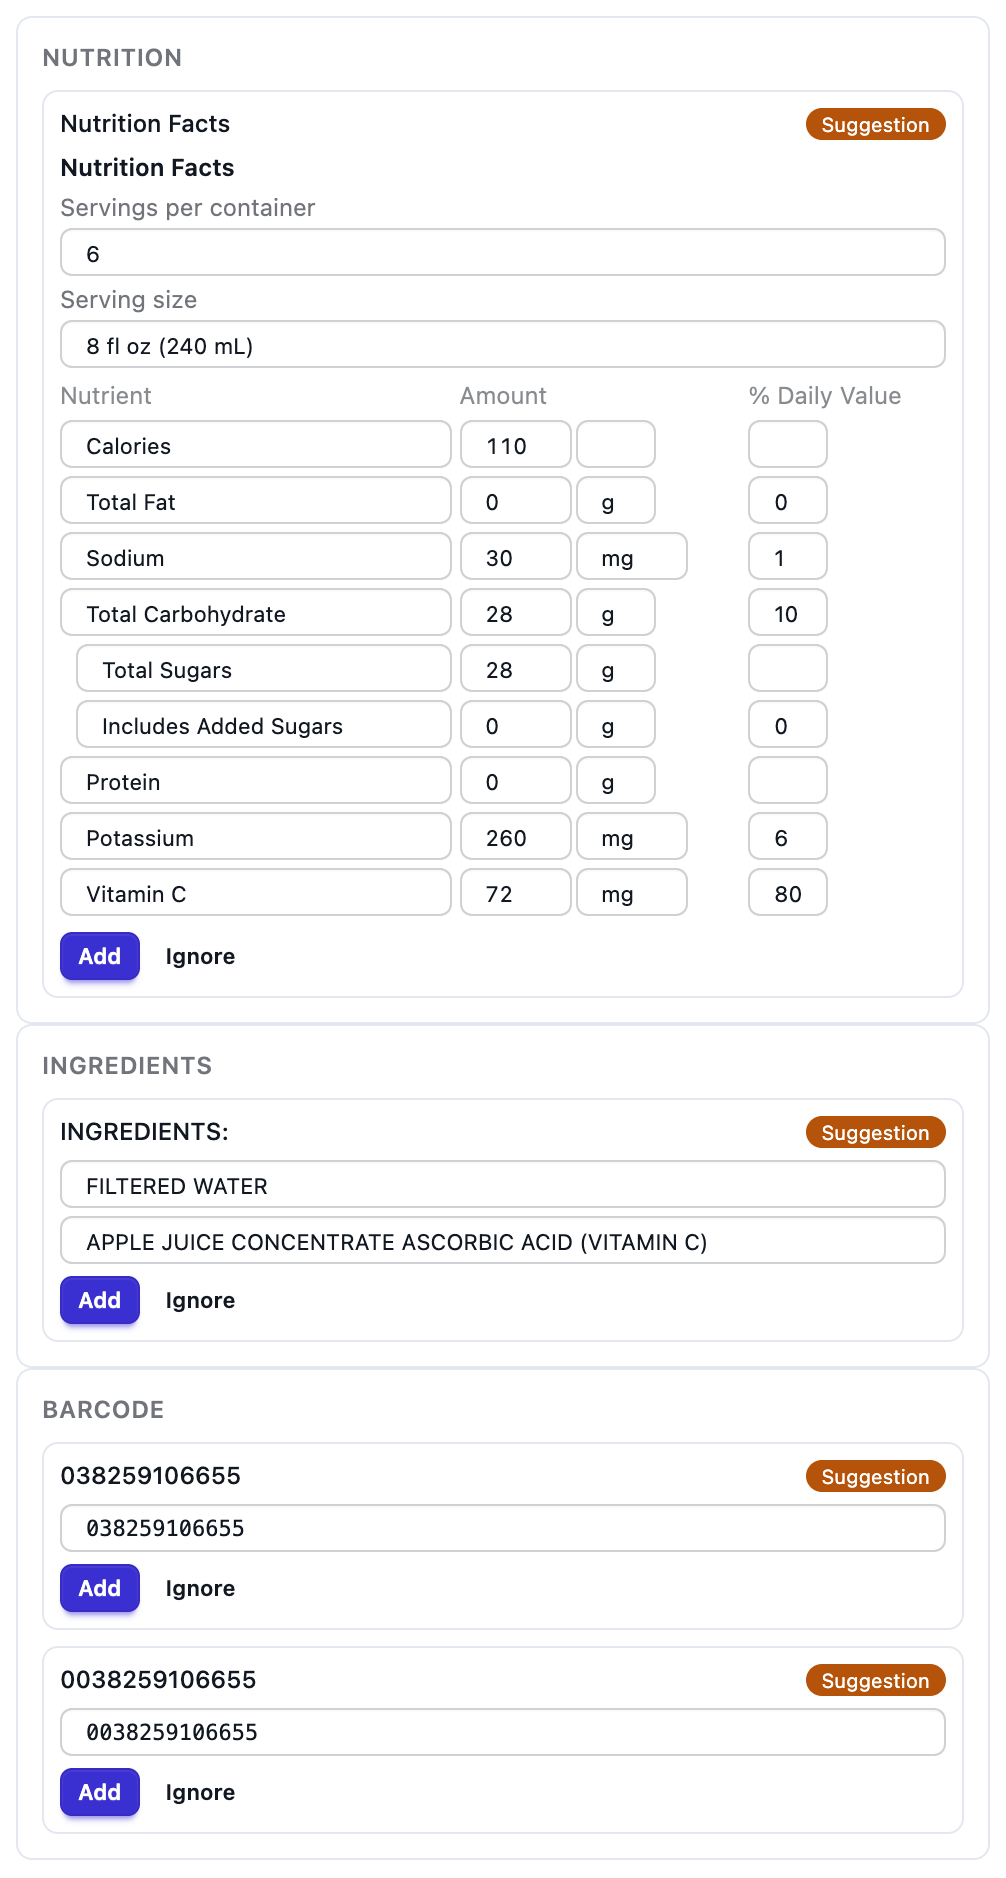
Nutrition, ingredients, allergens, net contents, a real barcode, claims, legal lines, statements, one Drug Facts panel and an NDC, when the PDF has them. Ignored wording does not come back.
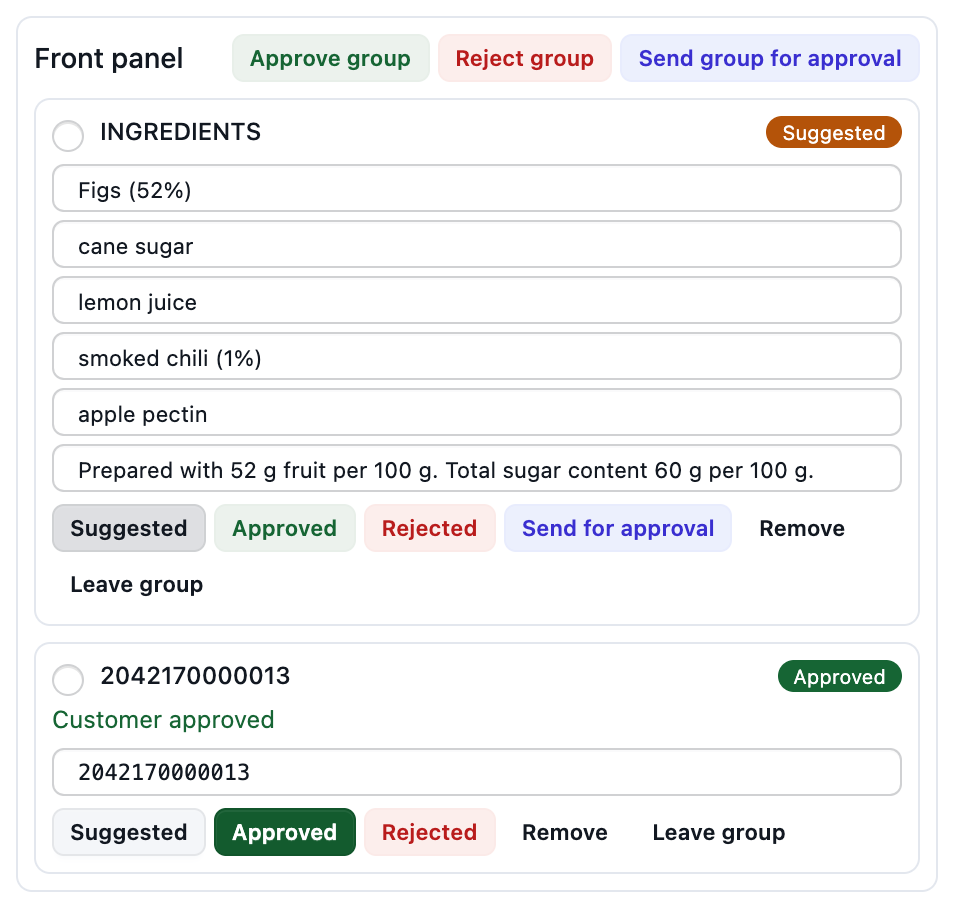
Add a suggestion to keep it, or ignore a bad read. Name a group and send that group with the proof. A kept block can be removed.
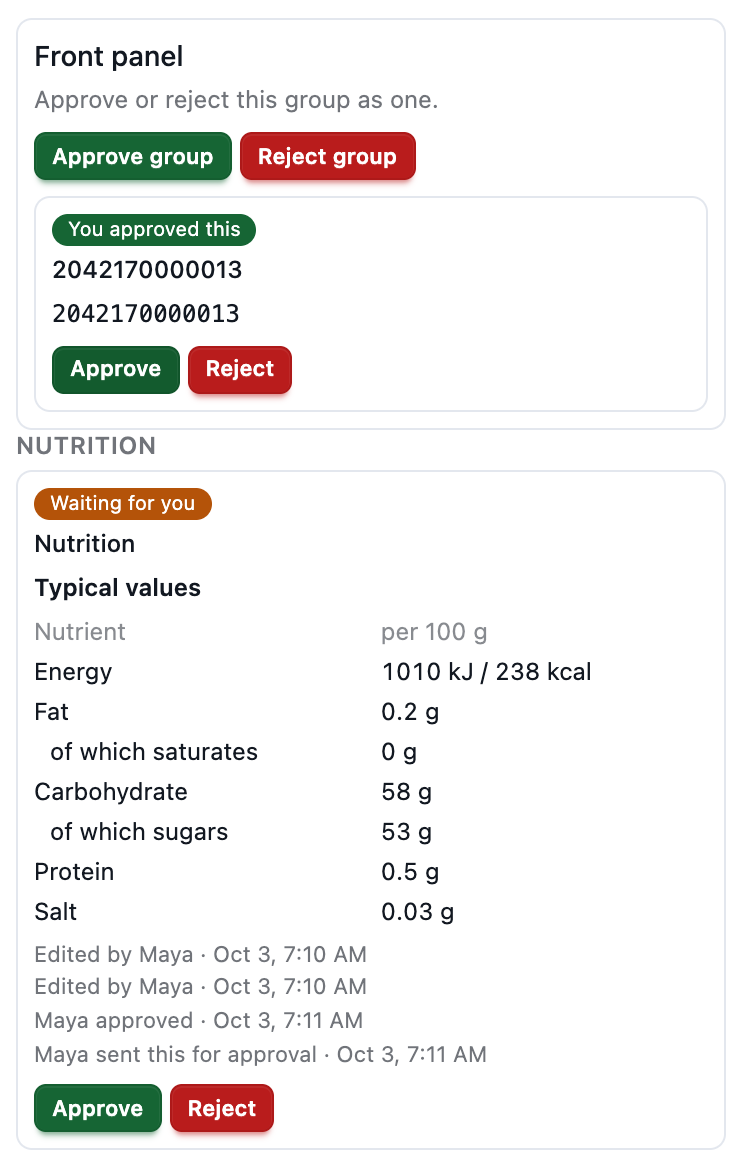
The customer approves or rejects a block or a group. Click a block to highlight it and zoom. The editor shows who edited, who approved and who sent it, with the time.
Read the docs: The 1-up editorBleed and the print-ready fileTrappingCreate a dieArtwork inspectionLabel copy by industry
| Capability | Free | Shop | Production | Plant |
|---|---|---|---|---|
| Map dies from spot colors or layers; view every plate | Included | Included | Included | Included |
| Bleed from the die, create a die, size & resolution, print-ready versions | Not included | Included | Included | Included |
| Trapping with a misregistration check | Not included | Not included | Included | Included |
| Label copy scanned from a PDF and approved with the proof | Not included | Not included | Not included | Included |
Die mapping and plates on every plan; bleed, create a die and print-ready files from Shop; trapping on Production. Label copy is on Plant.
FAQ
Anything else? Email hello@automateprint.com and a person who knows print will answer.
No. The print-ready file is a new version with bleed and traps on their own layers; the original stays as it was.
Map the layer the same way, or pick paths by hand. With no die at all, open the file from Files and create one from a shape, the artwork's outline or a drawing.
Yes: the Flexo preset sets wider traps and a white choke; switch traps off for digital with the same file. Existing traps are detected so you don't trap twice.
On Plant, open Content and scan the PDF. Keep the copy you want, ignore a bad read, and send it with the proof. The customer approves or rejects a block or a group. You can add copy the scan missed, or draw a box on the artwork, and empty categories stay hidden. Food, personal care and pharma use the same list.
Plant. You scan a PDF, keep the copy you want and the customer approves it with the proof. Free, Shop and Production do not include it.
Production and Plant. The rest of the editor is on Shop and up, and die mapping with the plate view is on every plan.
Start free, with 14 days of every Production feature. No card, and your customers review for free.
Allow Google Analytics cookies to measure visits to our public website? Your team workspace and private proofs are excluded. Essential cookies always stay on. Privacy policy